How to Transcribe Cisco Webex Meetings & Recordings to Serve a Larger Audience
Cisco Webex meetings have been a go-to solution for businesses who want hassle-free video conferencing for enterprise. When taking meeting notes becomes overwhelming, what can you do?
Webex transcription isn’t readily offered at the moment by Cisco, but by using these simple steps, you will be able to get meeting transcripts in no time.
How to Create a Cisco Webex Recording
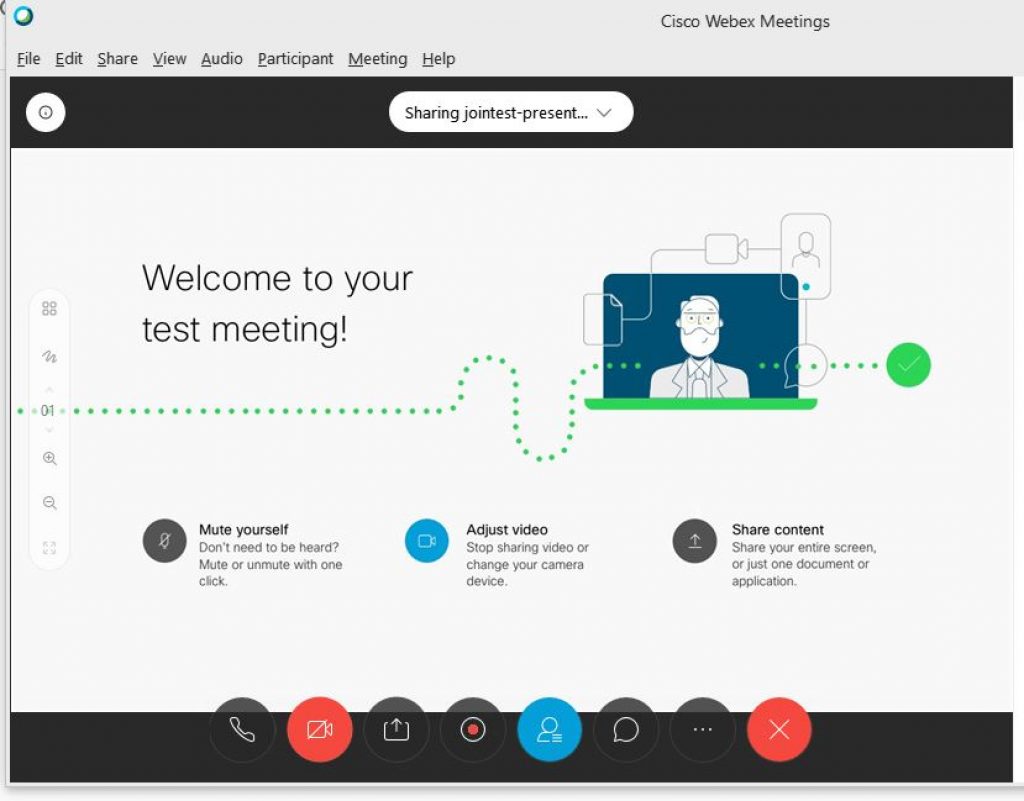
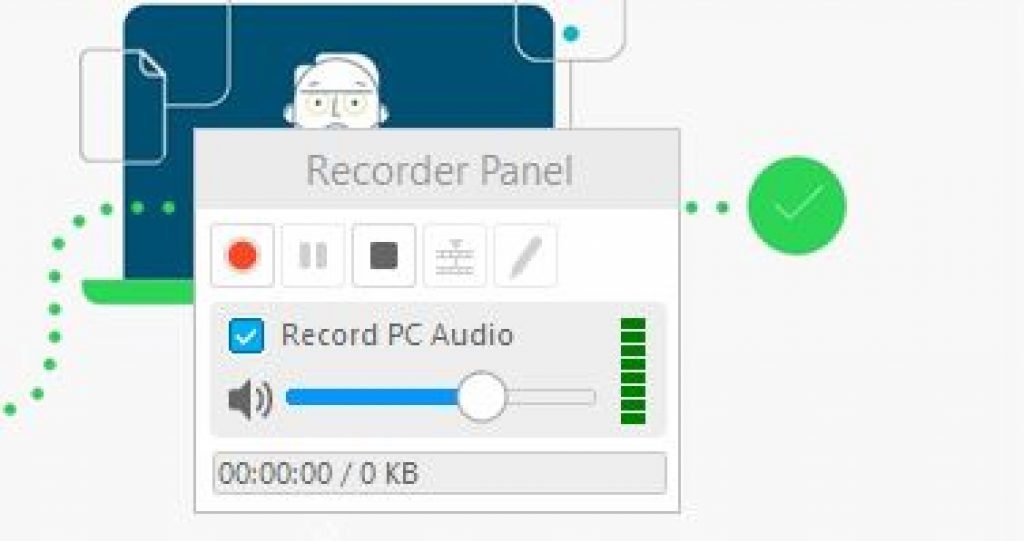
Before you can get a transcript of your Webex meeting you must record it. Because Webex is designed to be used from almost any device, you can record on the go, even without a lot of preparation. To record your Webex meeting, follow these steps:
1. Open your Webex assistant and look for the red Record icon at the bottom of your screen. Click it to begin recording.

How to Transcribe a Webex Meeting Recording
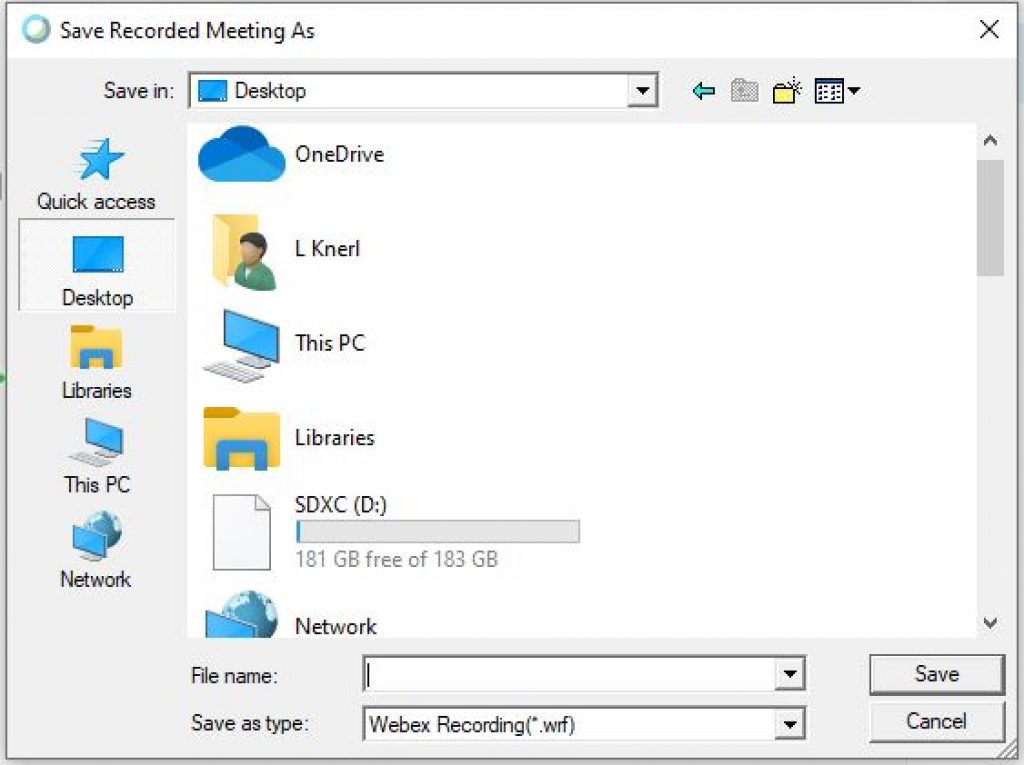
Now that you have a Webex meeting recording file that can be easily transcribed, you’re almost finished. Follow these steps to order your transcripts:
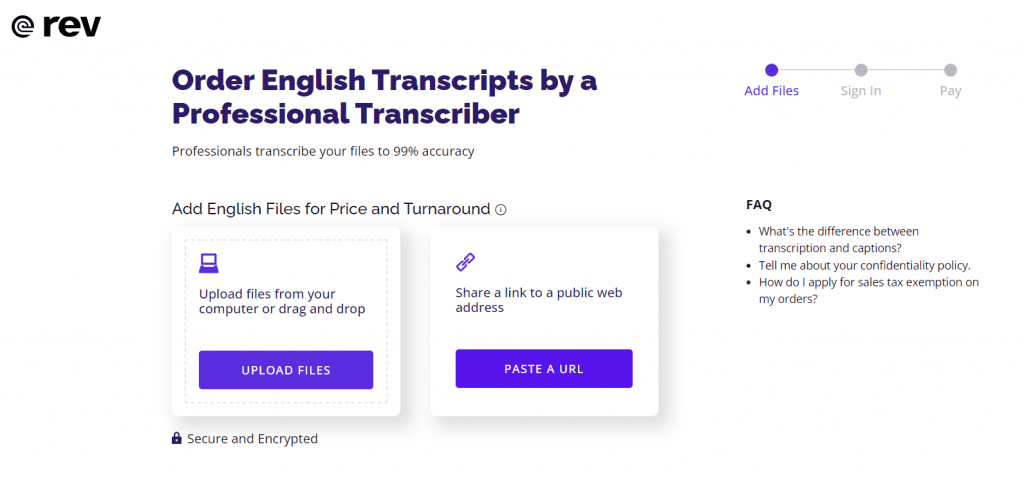
1. Go to the Rev.com transcription landing page and click “Get Started”
Go to the Rev transcription page.
3. Complete your Rev purchase
Rev will let you know when your meeting transcription files are ready for download, usually within 24 hours. You can choose from the file format options that best suit your needs.
This makes it simple to download for editing, sharing, and copying/pasting into presentations, emails, or white papers. Because you used a service like Rev, you can get 99% accuracy on your transcriptions, too. This can save you a lot of time.
Reasons to Use Webex transcription
Why would you use transcription instead of picking a team member to take notes? It may have even crossed your mind to send the video file to someone on your own team for transcription.
As you know, the first goal of any virtual conference call is team collaboration. Leaving the meeting transcription to someone that’s not on the meeting lets them focus on what’s happening in the meeting, but don’t pick any transcription service. Look for one with a record of accuracy that can turn around the transcription files quickly.
What about software? Some speech to text programs lack the accuracy of using a dedicated service that specializes in transcription and captioning. You may end up spending more time training these programs. This is especially common when you have many different people speaking on a conference call.
Finally, Webex calls may soon include AI-powered captions that show text on-screen during a live meeting. No one is sure how accurate this capability is, since it’s still in the works. It also doesn’t solve the problem for those who want to look back on a meeting without watching the entire recording. Some attendees may just want to read notes. Others might get distracted by on-screen captions, especially if they aren’t accurate. If you don’t want to spend a lot of time cleaning up your notes before sending them out to team members, consider uploading meeting recordings to Rev.
Subscribe to The Rev Blog
Sign up to get Rev content delivered straight to your inbox.


